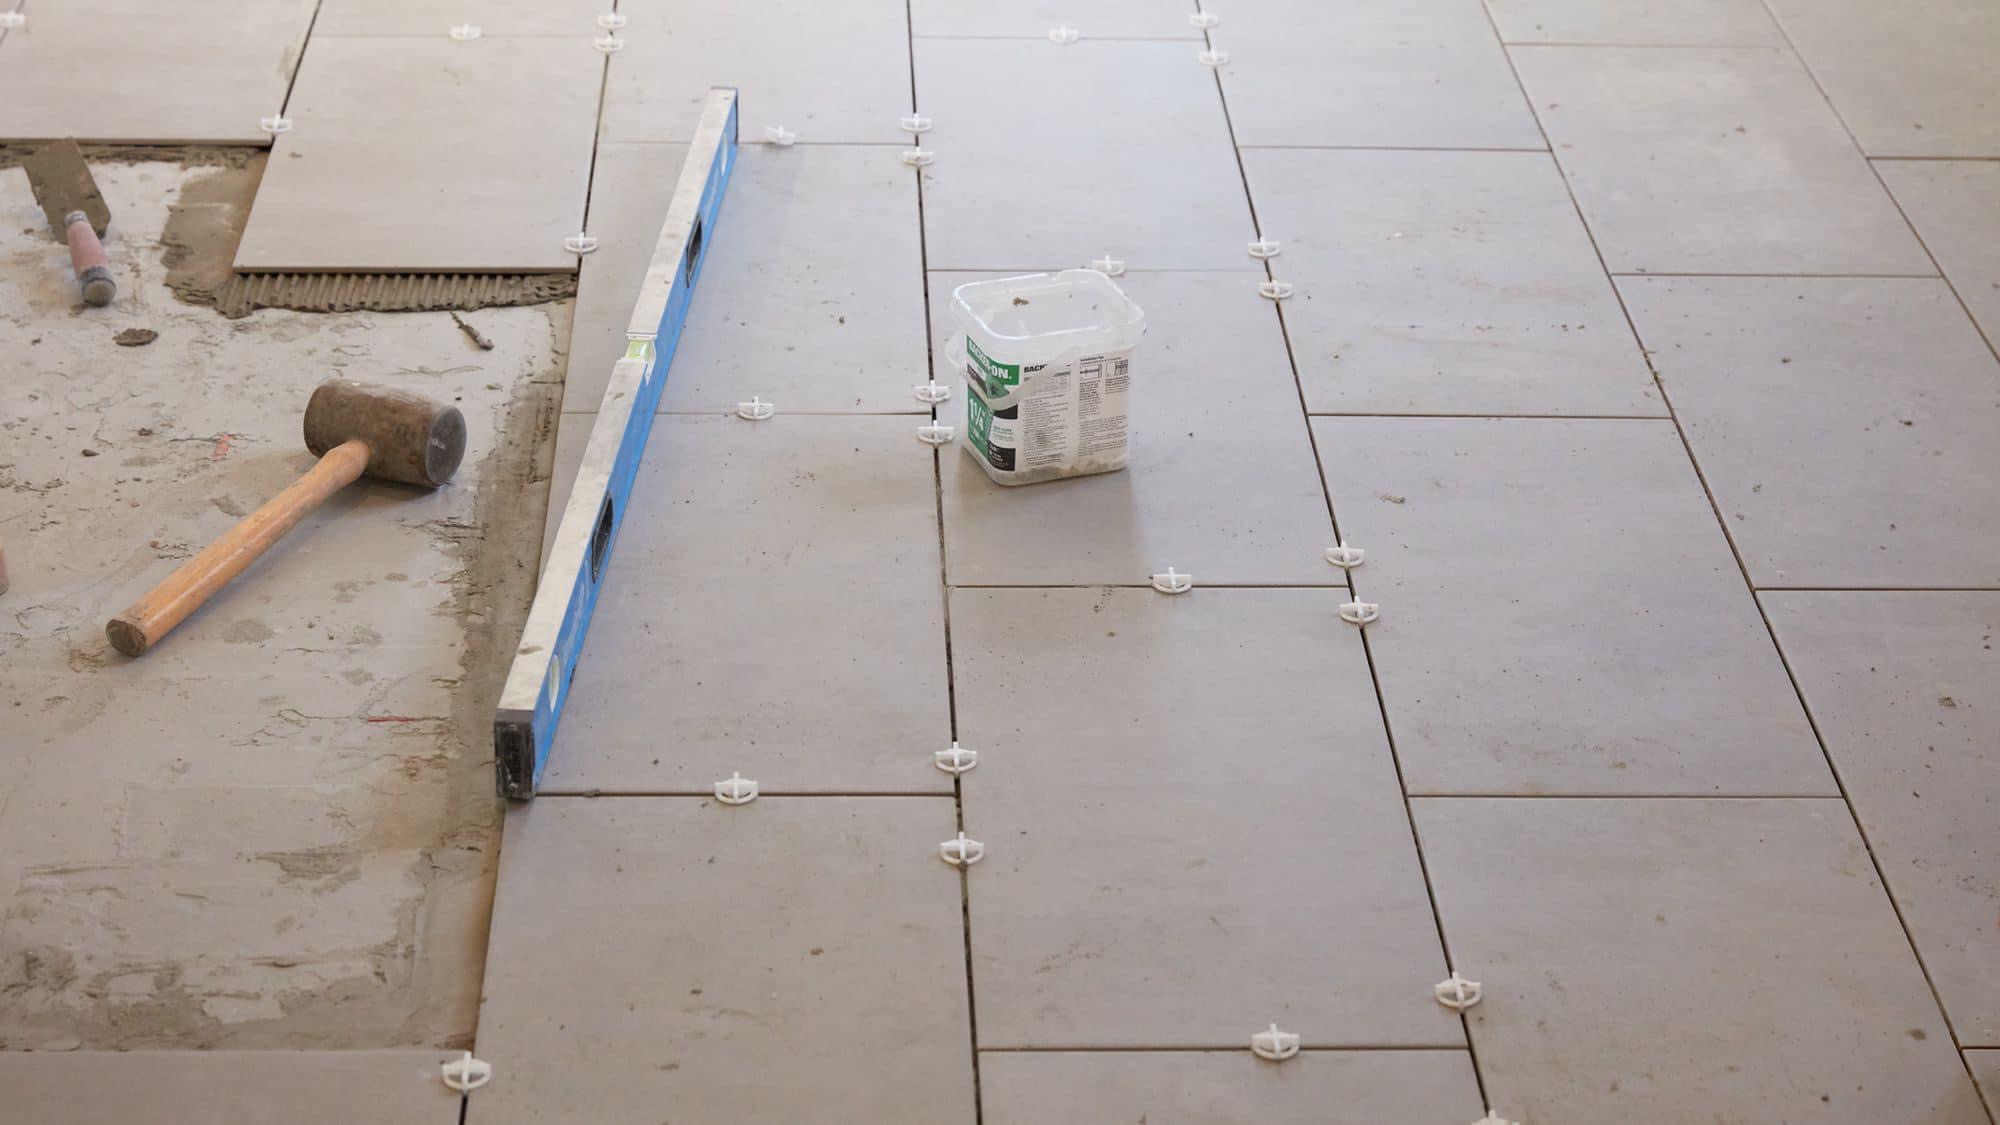
Do-It-Yourself Tile Installation
If you're interested in learning Do-It-Yourself Tile Installation, here's a straightforward guide to help you through the process!
Step 1: Gather Materials
Before you begin, make sure you have the following materials and tools:
- Tiles (ceramic, porcelain, or another type)
- Tile adhesive or mortar
- Tile spacers
- Grout
- Tile cutter or wet saw
- Trowel (notched)
- Level
- Tape measure
- Sponge and bucket of water
- Rubber grout float
- Safety gear (gloves, safety glasses)
Step 2: Prepare the Surface
Ensure the surface where you plan to install tiles is smooth, clean, and dry. If necessary, remove old flooring or tiles and repair any damage. For walls, you might need a cement backer board, especially in moist areas like bathrooms.
- Sweep or vacuum the area to remove dirt or debris.
- Patch any holes or uneven spots to ensure a level surface.
Step 3: Plan Your Layout
- Measure the area to determine how many tiles you need. Plan for about 10% extra for cutting and potential mistakes.
- Start from the center of the room or wall and work outward. This way, you’ll have symmetrical cuts along the edges.
- Dry lay a row of tiles along the layout to ensure proper fit and alignment.
Step 4: Apply Adhesive
- Using a notched trowel, spread a layer of tile adhesive (thin-set mortar) on the surface. Hold the trowel at a 45-degree angle to ensure even application.
- Start in a small area, no more than 3-4 feet at a time.
Step 5: Lay the Tiles
- Press the tiles into the adhesive, applying firm pressure. Use tile spacers between each tile to ensure even gaps.
- Use a level to check that the tiles are even. Adjust as needed by adding or removing adhesive.
- Continue laying tiles, working in sections.
Step 6: Cut Tiles as Needed
For edges or around fixtures:
- Measure the space and mark where to cut the tile.
- Use a tile cutter or wet saw to make straight or curved cuts.
- Be cautious and always wear safety gear when cutting tiles.
Step 7: Let the Tiles Set
Allow the adhesive to set for at least 24 hours (check the manufacturer's instructions for specific drying times).
Step 8: Apply Grout
- Remove tile spacers once the adhesive has dried.
- Mix the grout according to the package instructions.
- Using a rubber grout float, spread grout over the tiles, pressing it into the gaps. Hold the float at a 45-degree angle to ensure the grout fills the spaces completely.
Step 9: Clean Excess Grout
- After applying the grout, wait about 10-20 minutes, then use a damp sponge to wipe off the excess grout from the surface of the tiles. Rinse the sponge often to avoid smearing the grout.
- Let the grout dry for 24 hours.
Step 10: Seal the Grout
Once the grout has dried, apply a grout sealer to protect it from moisture and stains. This step is especially important in areas like kitchens and bathrooms.
Step 11: Final Clean-Up
After the grout sealer dries, give your tiles a final cleaning with a damp sponge or soft cloth to remove any residue. Then, enjoy your new tile installation!
